
For those of us in San Diego, it looked like this yesterday.


Wet and somewhat dreary. And when it's cold out, I get the desire to bake.
Now, I am fully aware that I pretty much suck at cooking. Nothing is explosive or on fire or vomit-worthy, things just never seem to turn out right. But there are two things I can make without fail every time. One of them is one pot pasta, and the other is Oreo cheesecake truffles.

Mainly because there are only three ingredients. If you screw these up, you literally are the worst chef on earth.
So, if you want to stop drooling over your computer and actually have these babies in your tummy, I decided to post a little tutorial so that you can try em out! Honestly, this is the most useless tutorial. You could make these with your eyes closed.
Before you begin, turn your iPhone, iPad, or other musical playing device to Kenny G Christmas on Pandora.

This is a requirement. His sweet sound will make the truffles taste better.
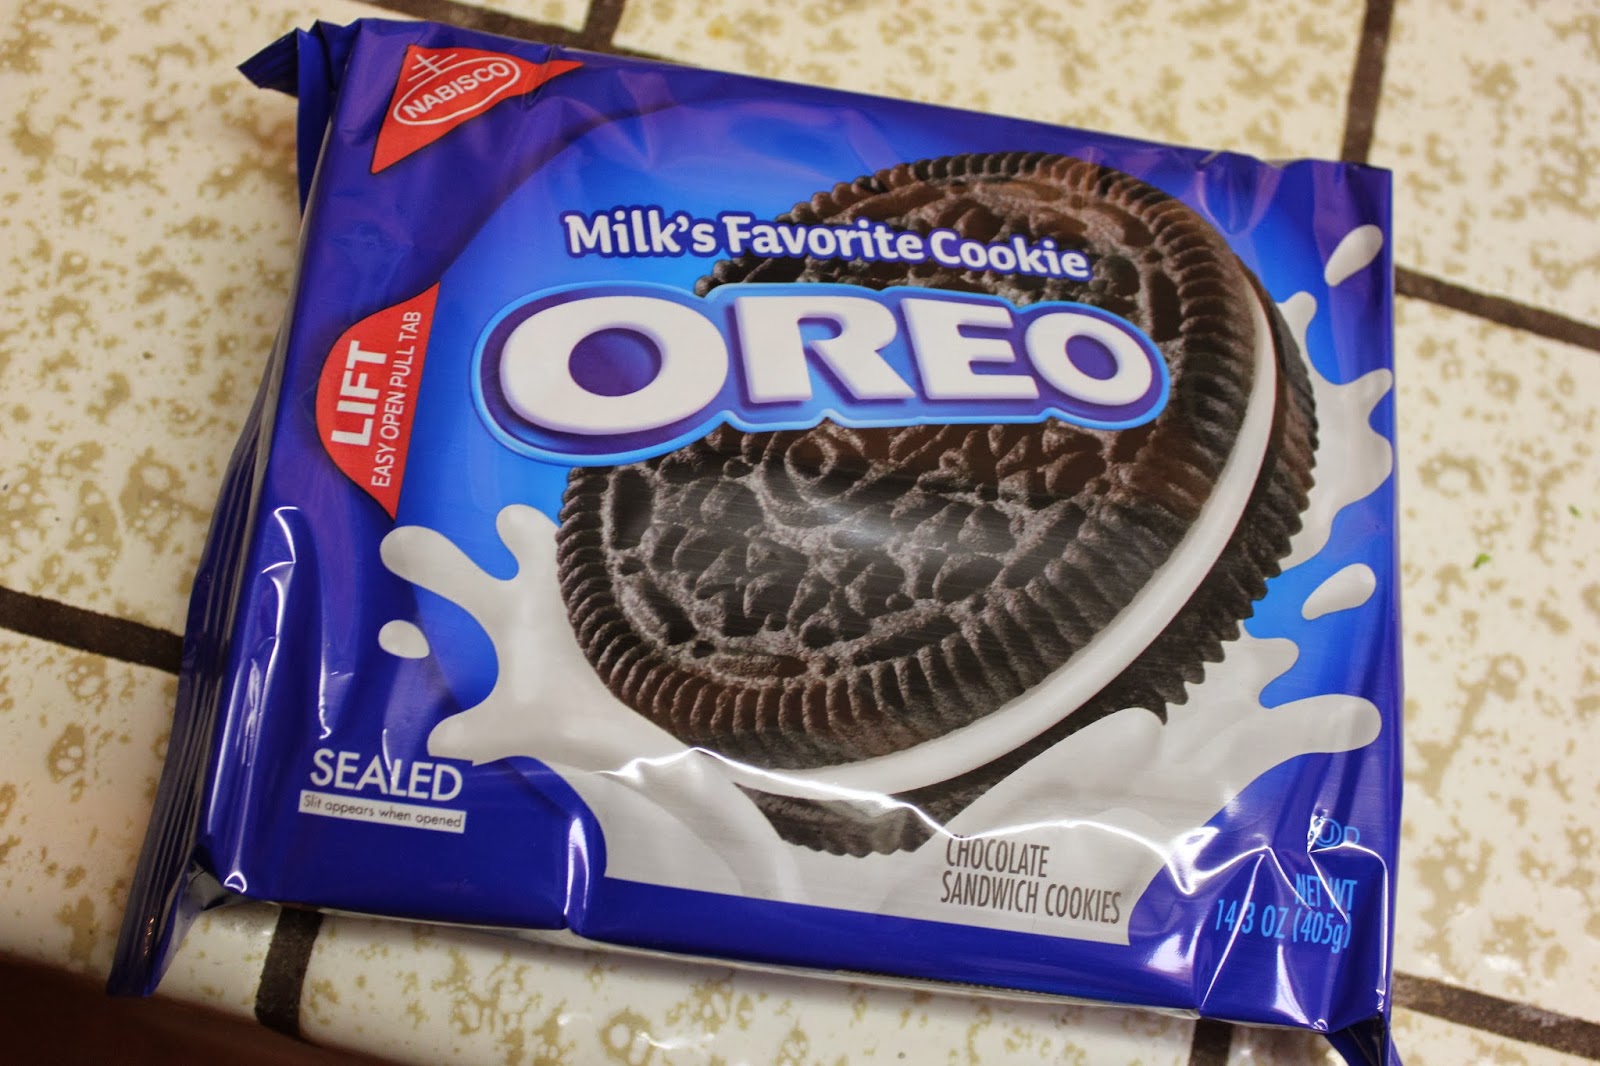
Step One:
Purchase a pack of oreos, an 8 oz block of cream cheese, and a bag of chocolate chips.
No seriously, that's it.
Step Two:
Put the Oreos into a blender or food processor, about 10 or 15 at a time (the pack should have 40 in it). I only do 10 or 15 oreos per blending session so that they all can get touched by the blades and can puree beautifully. I have found with too many Oreos in the blender that some turn to powder and some are still chunky.

Step Three:
Using the "pulse" setting on your blender, pulse until the oreos have turned into a soft powder. You want the dust as fine as possible without any big chunks (no one wants their cheesecake to have a big crunchy piece in it).

Apologies for my picture quality, clearly the camera thought my sleeve should be in focus, rather than the crumbs. Silly Canon.
Step Four:
After each blending session of Oreos, transfer the completed "dust" into a big bowl.
Step Five:
Blend all the Oreo dust together with the cream cheese in a big bowl. I find it is easiest to use a power mixer of some sort, but a big spoon also works. Make sure to blend it a ton and super evenly. You want it to look like tar basically.

Step Six:
You now want to start forming the truffles. I used to use my hands to just roll little cherry-sized balls, but yesterday I had the genius revelation to use this:

Ice cream scoop! It makes this step a BREEZE and your hands don't get oily and gross.
Place the truffles onto wax paper. I put mine into tupperware containers so that they are easy to store when they are finished (these must remain refridgerated at all times).
Step Seven:
When your truffles are formed and in their containers, place them in the freezer for ten minutes so that they will hold their shape when being decorated.
Step Eight:
Open a bag of chocolate chips into a bowl and add a teaspoon or two of cooking oil to thin it out.


Microwave for about a minute or until melted, stirring occasionally.
Step Nine:
Once your truffles are done freezing (they do not need to be rock solid, just cold enough to hold their form) you can either roll them in the chocolate, or do my new little nifty technique. I find that when I try and cover them in chocolate, they look a lot less appetizing and it is extremely difficult to get them out of the bowl without covering your hands in chocolate. I spoon most of the chocolate into a zip-loc bag and cut the slightest little bit off of the corner. This way, I can drizzle the chocolate all over them without having to cover them completely.

Exhibit A: Which would you rather? Yeah, I know the answer.
Final Step:
Place them back in the freezer to set the chocolate for a few minutes.
And there you go! I know it was ten steps, but I could have written those instructions in one tiny paragraph.
They are the most simple dessert in the whole world, yet taste JUST like an Oreo cheesecake! Do yo'self a favor and treat yo'self to these babies. You won't be sorry.


x o x o,
Betty Crocker
No comments:
Post a Comment